Setting up Google Analytics 4 (GA4) in Google Tag Manager (GTM) is a crucial step in ensuring accurate data flow between your website and your GA4 property. By configuring the Google tag in GTM, you can collect data for analytics, enhance your measurement capabilities, and streamline your tagging setup. This guide outlines the steps to set up GA4 in GTM effectively.
How the Google Tag Works
The Google tag acts as a bridge between your website and GA4 by:
• Loading Your GA4 Property: Ensuring your GA4 property is activated on your website.
• Managing Settings for Tags: Declaring settings that apply across all Google Analytics tags.
• Setting Google Analytics Cookies: Storing visitor and session data.
• Sending Enhanced Events: Automatically collecting events like page views, scroll tracking, and file downloads.
Before You Begin
Make sure the following prerequisites are in place:
1. Google Analytics Setup:
• A GA4 account and property.
• A web data stream for your website.
2. Google Tag Manager Setup:
• Access to the appropriate Tag Manager container.
• Editor Role (or higher) for your GA4 account.
Step 1: Set Up the Google Tag
1. Log in to Google Tag Manager:
• Go to Google Tag Manager.
• Sign in with your Google Account.

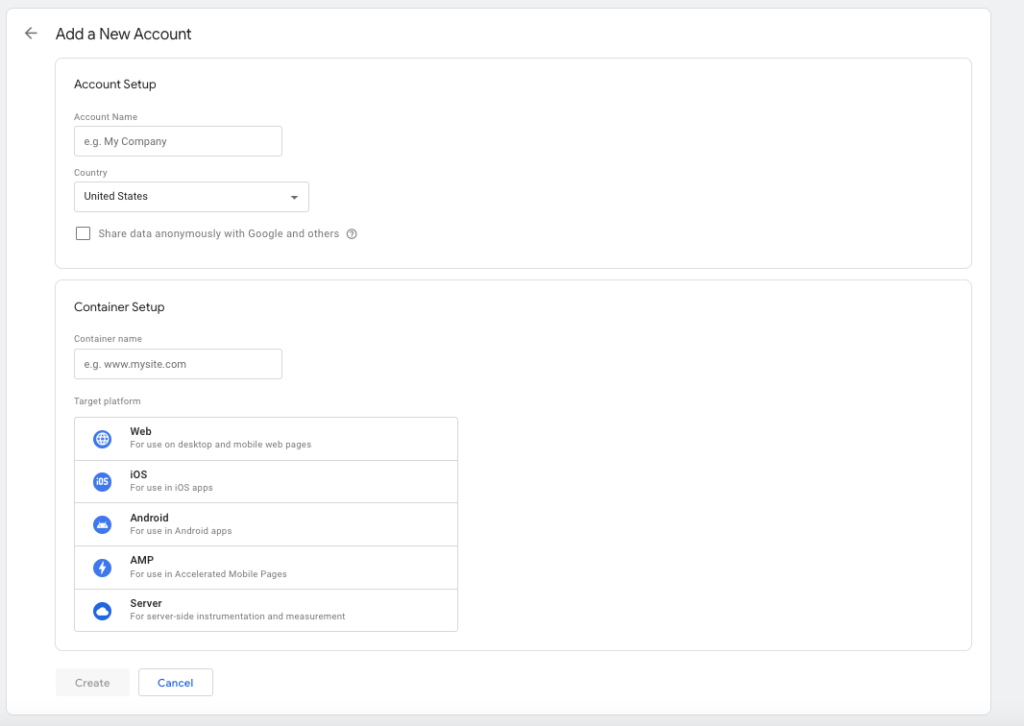
2. Access Your Container:
• Click the Accounts tab, then select the desired container.
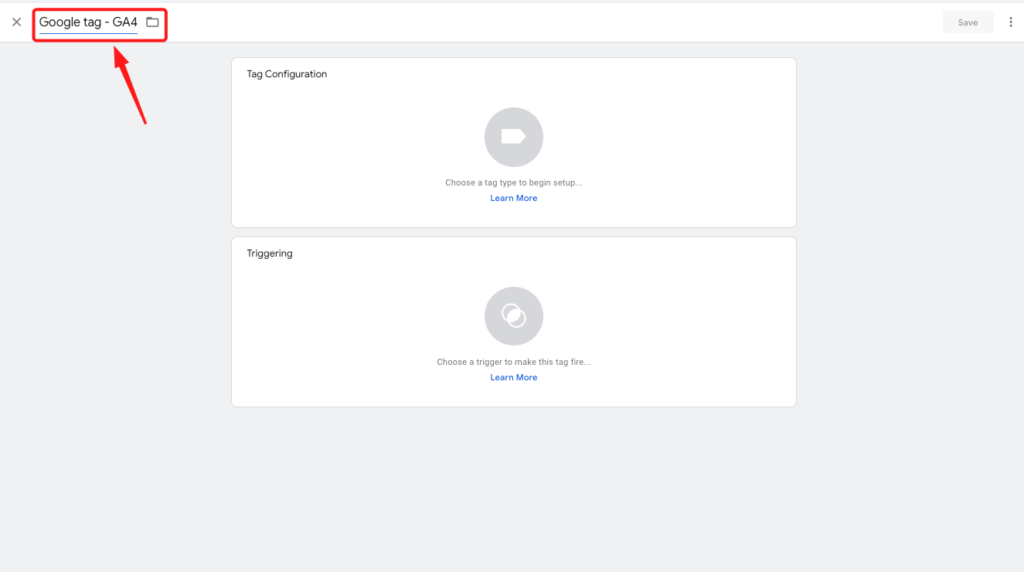
3. Create a New Tag:
• In the Workspaces tab, go to Tags > New.

• Replace “Untitled Tag” with a descriptive name (e.g., “Google tag - GA4”).

• Under Tag Configuration, choose Google Tag.

4. Enter Your Tag ID:
• Add your Tag ID (found in GA4 under Admin > Data Streams > Web > Tagging Instructions).
• Optional: Customize settings such as global parameters, configuration settings, or shared event settings.
5. Set a Trigger:
• In the Triggering section, choose Initialization - All Initialization Events to ensure the tag loads at the start of the page.
6. Save Your Tag:
• Click Save to finalize the configuration.
Step 2: Verify Your Configuration
1. Preview Mode:
• In GTM, click Preview to launch Google Tag Assistant.
• Enter your website URL and click Connect.
• Navigate your website to verify that the tag is firing correctly.
2. Debugging:
• Use Tag Assistant to inspect the data sent to GA4.
• In GA4, go to DebugView to verify event data.
Step 3: Publish Your Tag
1. Submit Changes:
• In GTM, click Submit in the Workspace tab.
• Choose Publish and Create Version to deploy the tag live.
• Enter a name and description for the version (e.g., “GA4 Tag Setup - Initial Configuration”).
• Review the activity history and click Publish.
Optional Settings for Advanced Use
• Global Parameters: Define universal parameters like language or user type to apply across tags.
• Shared Event Settings: Configure default settings for events like page views or custom interactions.
• Tagging Server: Set up server-side tagging to enhance data security and reliability.
• User Properties: Capture and send custom user properties (e.g., logged-in status, subscription level).
Next Steps
Once your GA4 setup is live, you can enhance your analytics by:
• Configuring custom events and user properties.
• Implementing enhanced measurement settings for actions like file downloads and outbound link clicks.
• Integrating with other Google products like Ads and Optimize.
By following these steps, you’ll ensure that GA4 is accurately collecting data via Google Tag Manager, providing you with actionable insights to optimize your website and marketing efforts.

